Platform Overview
Dashboard
This is where summary information regarding your environment is presented.
It contains charts to represent top level information based upon which licenced modules are available to the signed in user.
Note: At present the chart locations and content are not customisable.
Chart 1
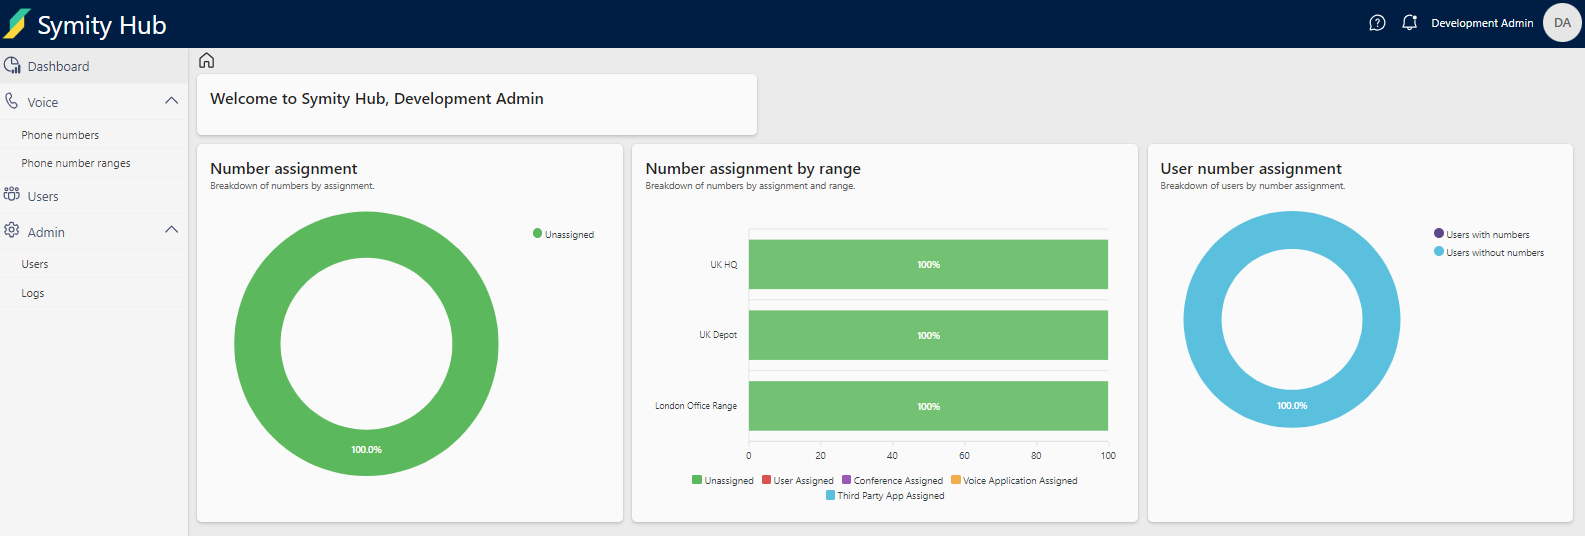
This shows a summary of all numbers within the organisation, broken down by availability.
Chart 2
This shows each Number Range within the organisation, broken down by availability.
Chart 3
This shows users within the breakdown of users within the organisation with numbers assigned.
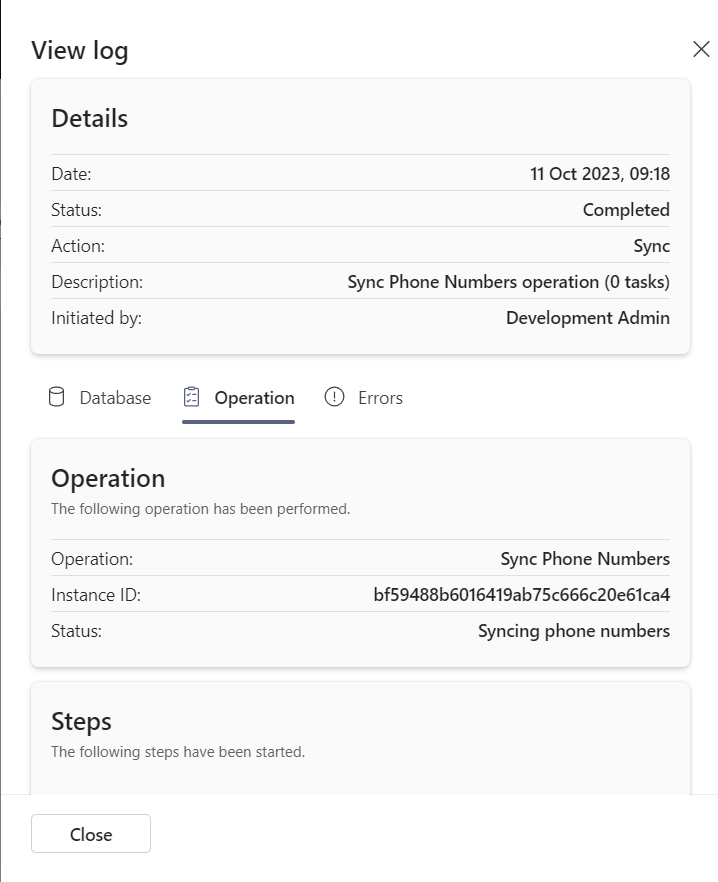
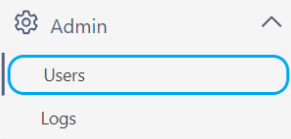
Audit Logging
The audit log can be accessed through the Admin menu.
It provides a log of the last 180 days of activity for all system activity.
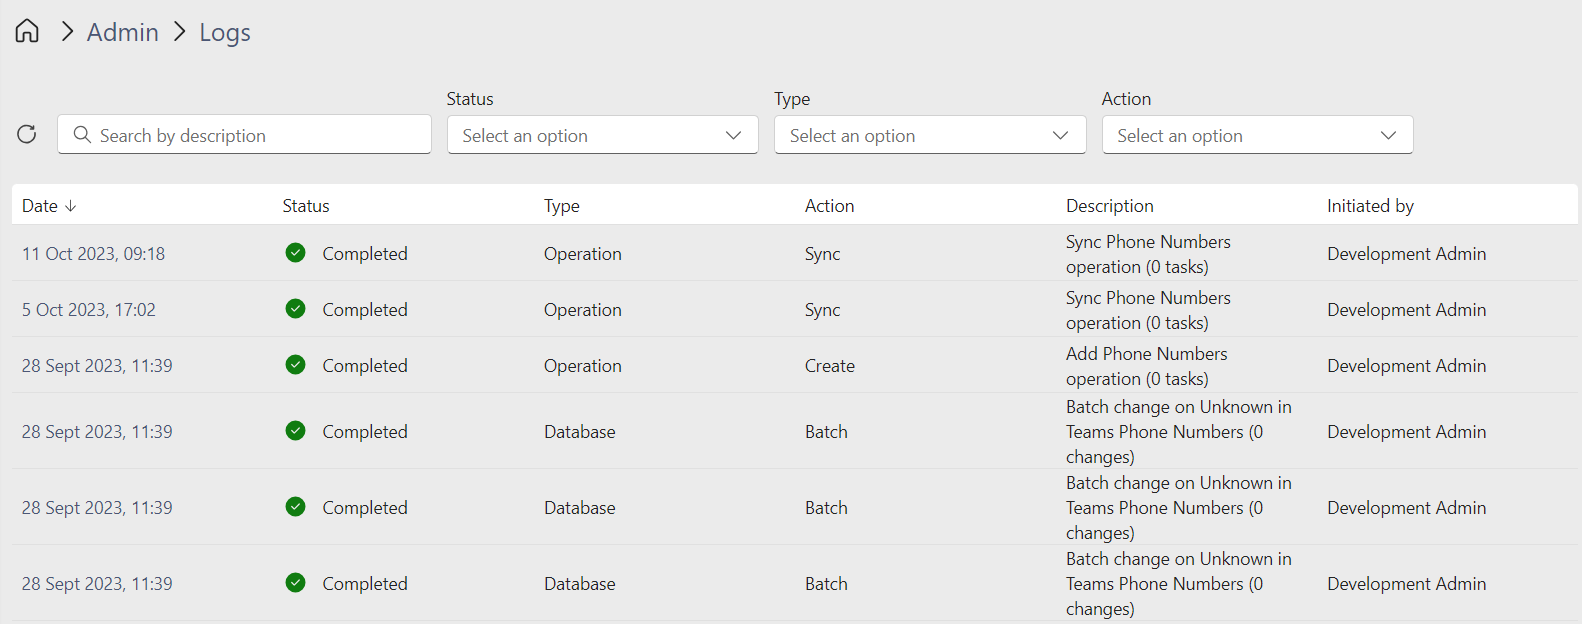
The log can be filtered and searched using the toolbar at the top of the page. Each entry expands with detail when the logged date is clicked on.
Synchronisation
In order to keep Symity Hub in sync with the Microsoft tenant, the Sync button can be used. Should any changes be made within the Teams Admin Console directly, Hub will be unaware of these and may become out of sync.
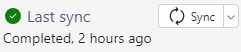
- Sync: Used to update the system only including changes since the last Sync was performed.
- Full Sync: Used to update all areas of the system, this is a longer process but will cover all values.
User Management
User Management can be performed by users with the Owner role.
Symity Hub supports Azure Entra-ID accounts with full Single Sign On (SSO) capabilities. Users within the customer tenant/directory can be referenced by Hub meaning that there is no need to configure/set any additional passwords or authentication methods. What the user has set by policy within their organisation will be honoured by Hub.
For more information on roles and permissions see Permissions & Scopes.
Role Assignment
Step 1 : Select User
Click on Edit for the user.
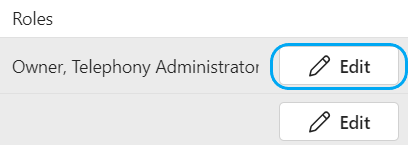
Step 2 : Select Roles
Select Roles to assign to the user and click Save

Permissions & Scopes
In order to control user access to the various components of the system, it is possible to assign Roles to users.
The table below details what permissions are granted by assigning the Role to the user. Permissions granted to a user are cumulative.
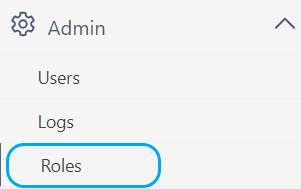
To view the Roles available and the associated permissions, navigate to Admin>Roles
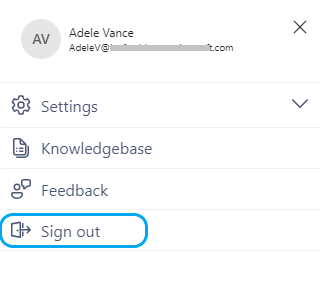
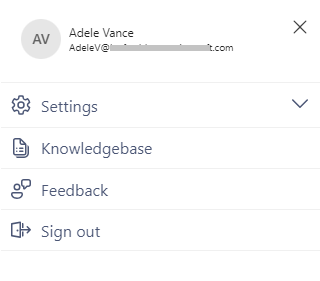
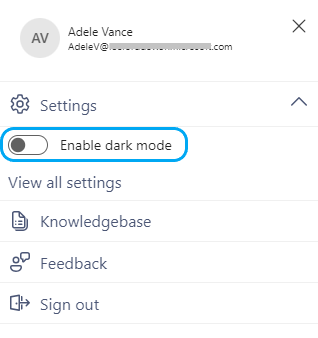
User Profile
User profile settings can be accessed by clicking on your logged in name.

Help
Support information can be accessed through the  icon located on the top right of the screen.
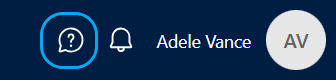
Notifications
The Notifications  provides a record of last 15 number of actions performed by the signed in user.

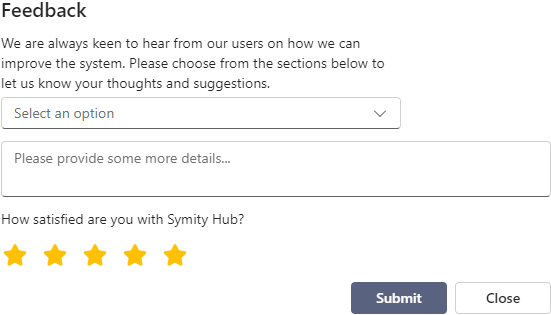
Feedback
The feedback section can be used to provide feedback, suggest a new feature or log an issue.
Dark Mode
Allows the selection of Light/Dark mode themes.
Sign Out
Allows the signed in user to log out of the system.